Add a New Schedule
In the Administrator module, you can add and manage schedules in Xsponse. Schedules are essential for organizing your alerts, notifications, and activities within the platform.
To Add a New Schedule
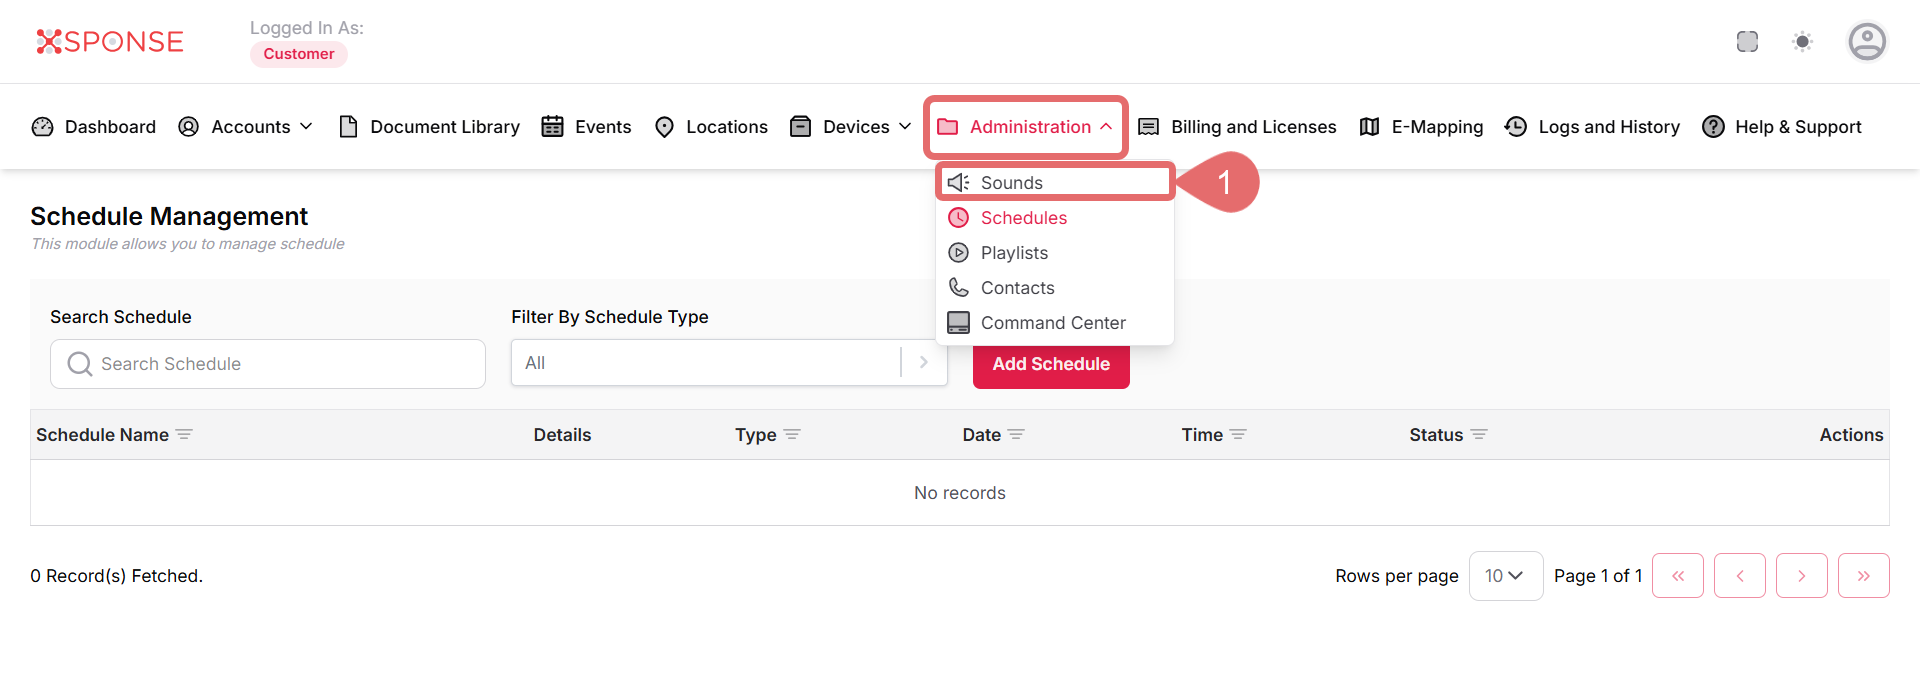
- Go to Administration > Schedules.
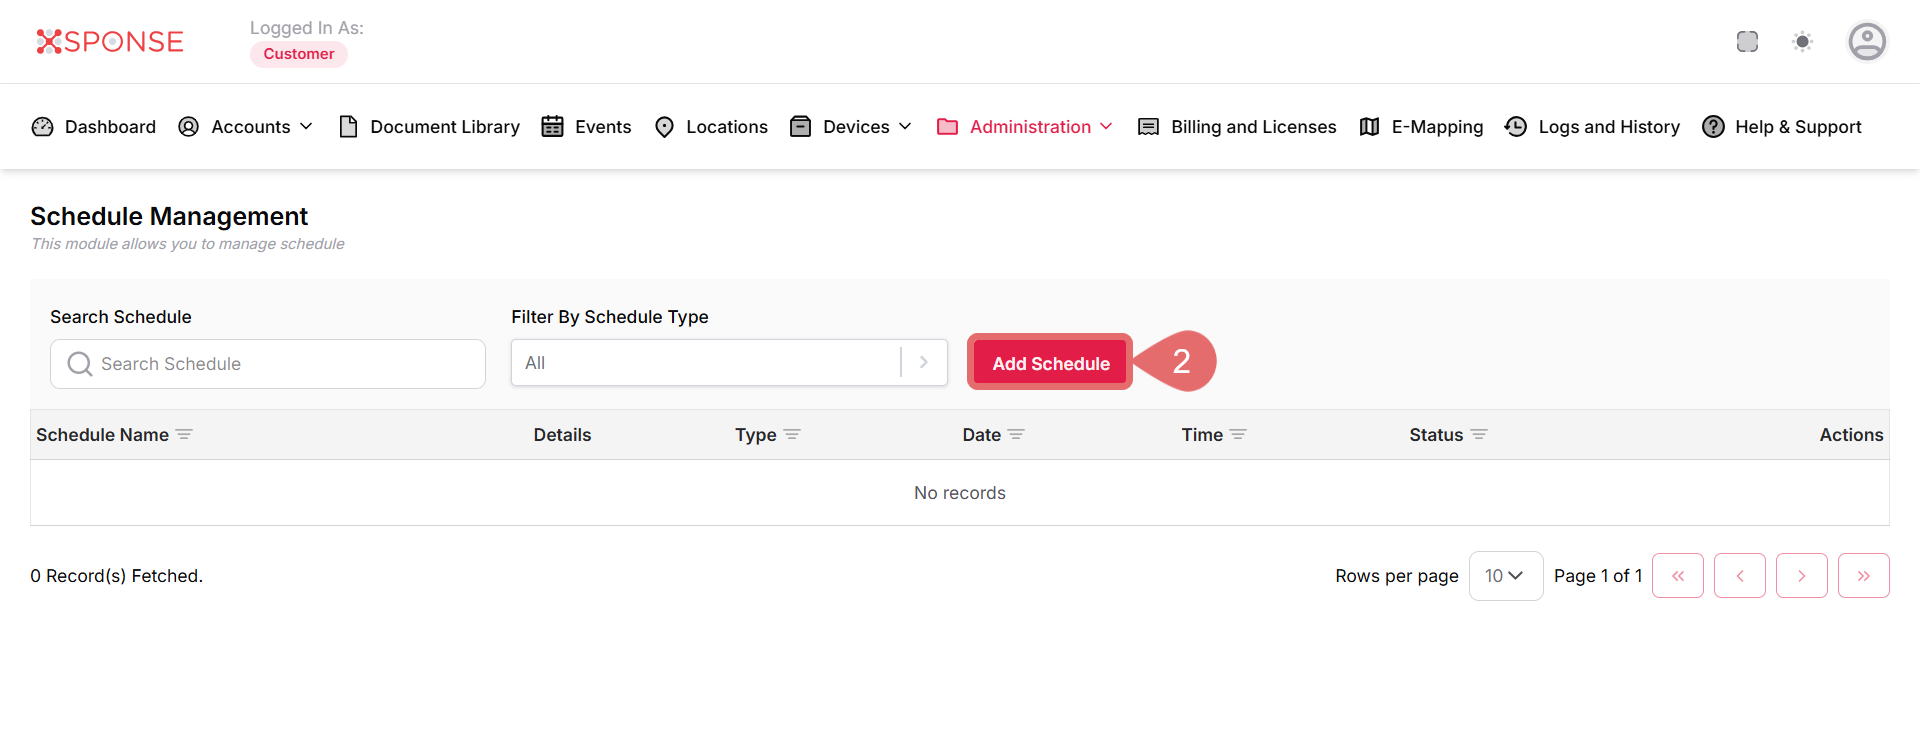
- Click Add Schedule.
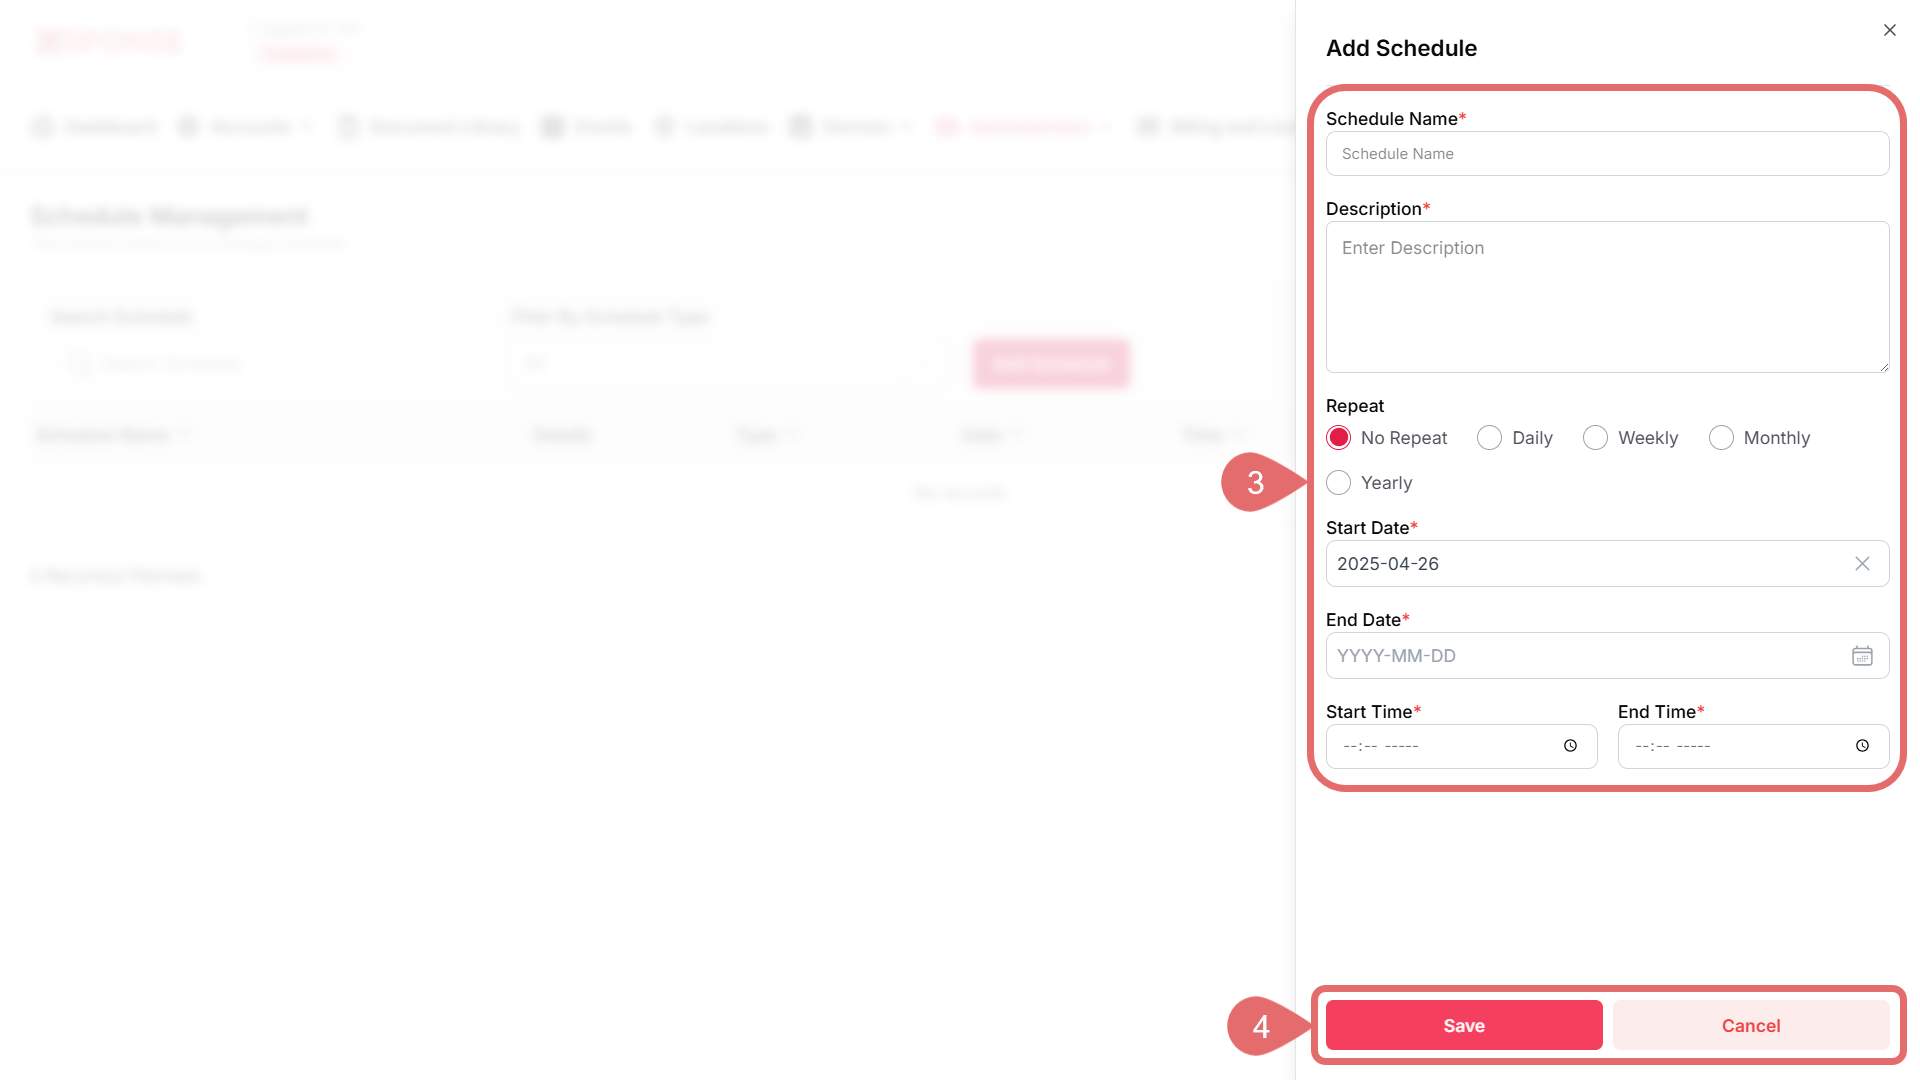
- Fill in the required information:
- Schedule Name: Enter a name that clearly identifies the schedule. This field is required.
- Description: Provide a brief description of the schedule's purpose. This field is optional.
- Repeat Options: Choose how often the schedule should repeat:
- No Repeat: Schedule occurs only once.
- Daily: Repeat daily.
- Weekly: Choose specific days of the week for repetition.
- Monthly: Set the schedule to repeat on specific days of the month.
- Yearly: Repeat annually on a specific date.
- Start Date: Select the date when the schedule should start.
- End Date: (If applicable) Select the end date for the schedule.
- Start Time & End Time: Input the time for the schedule to begin and end. Ensure the times are set correctly for AM/PM.
Conditional FieldsDepending on your Repeat selection, additional fields may become available for specifying frequencies and options.
- Click Save to create the new schedule, or Cancel to discard your changes.
See Also
To complement your knowledge of this process, check the following pages: